如何搭建 blog? 附带全部 Hexo + Nginx + Git 教程

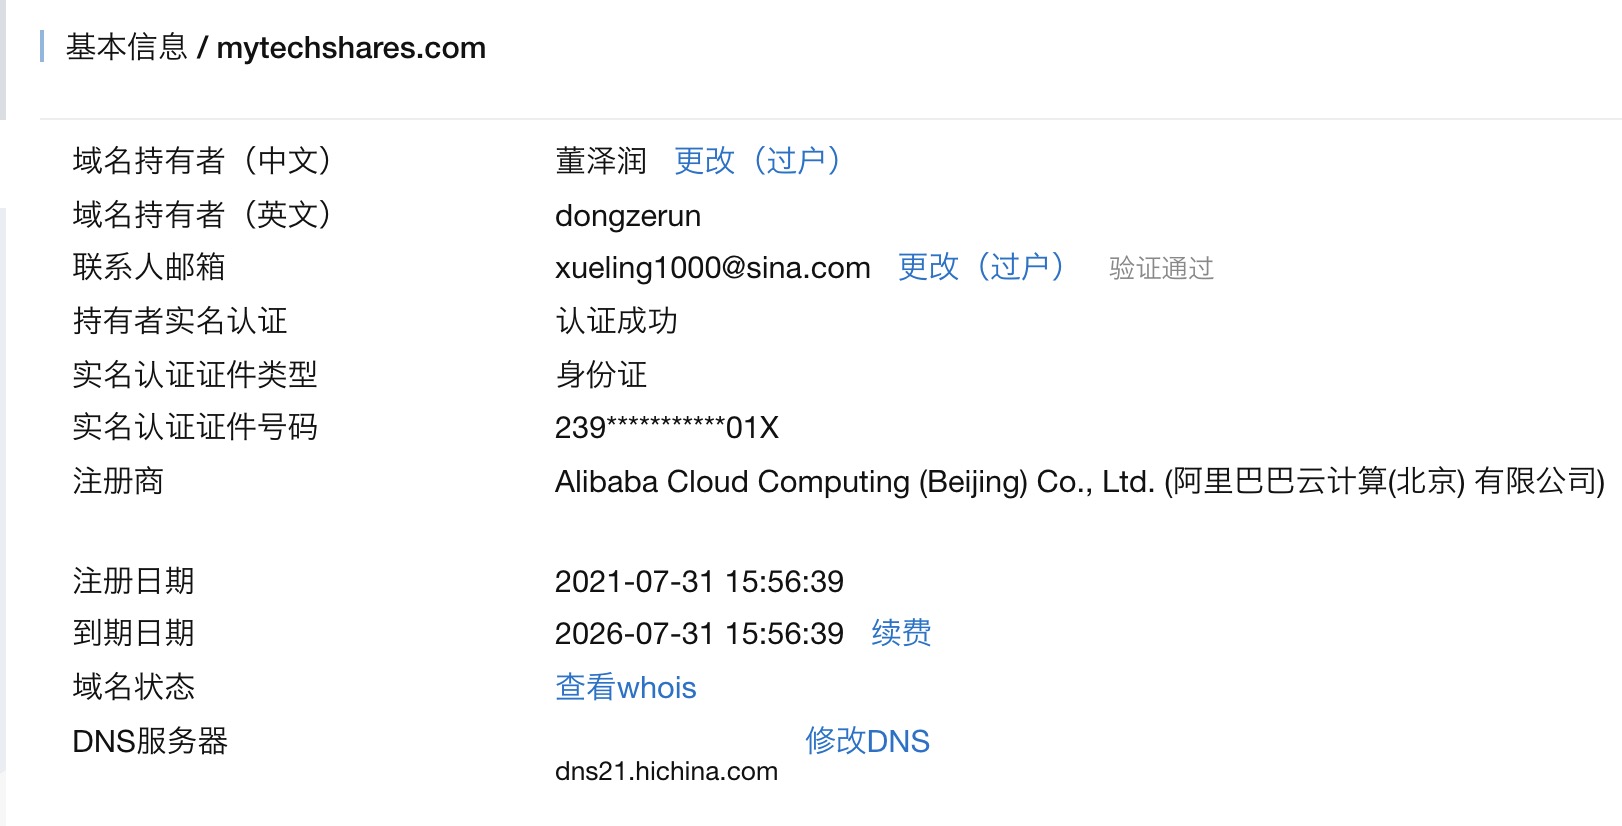
个人 blog 欢迎访问:https://mytechshares.com/ , 内容同步自微信公众号。首先说下为什么自建 blog 站点:
- 微信公号属于私域流量,搜索引擎无法检索,一般发文后一周就没流量,更别提历史文章
- 在简书上写过一年,回头发现全都得平台打工了,内容审核极其严格
- 网上有人洗我的稿,也不标明来源。虽不是什么大 v, 一起洗,大家洗洗更健康

为什么不用 Wordpress 呢?blog 纯粹是静态页面,wp 太重了,各种 mysql 管理后台。
网上很多人用 github pages, 国内访问有点慢,速度是个问题,有同学用 oss 做 cdn 分发效果也不错。同时域名也是 github.io 的,我看有人 cname 过去了,也是可以的
最终方案:hexo + nginx + git, 外加 gitee 实现的图床。本文大致分享下搭建流程,遇到报错可以私信沟通交流,网上也有解决方案

hexo 用于在 Mac 本地渲染 html 静态页面,大家只需要编写 Markdown 文本即可。aliyun ec2 机器上搭建 nginx 服务用于提供 web 443/80 访问,ec2 上搭建 git server (数据目录就是 nginx 目录), 当 hexo 本地渲染完成后,hexo 自动 deploy 同步文件到 ec2 git 上,完成了自动的 CI/CD pipeline. 博客的图片可以放到 ec2 本地目录,也可以用图床,我选择使用 gitee 来节省带宽流量
购买机器域名
Aliyun 服务器 2 cpus 1 G memory, 选择推荐的内蒙古大区。性能突发实例即可,等以后流量高,性能不够再升级
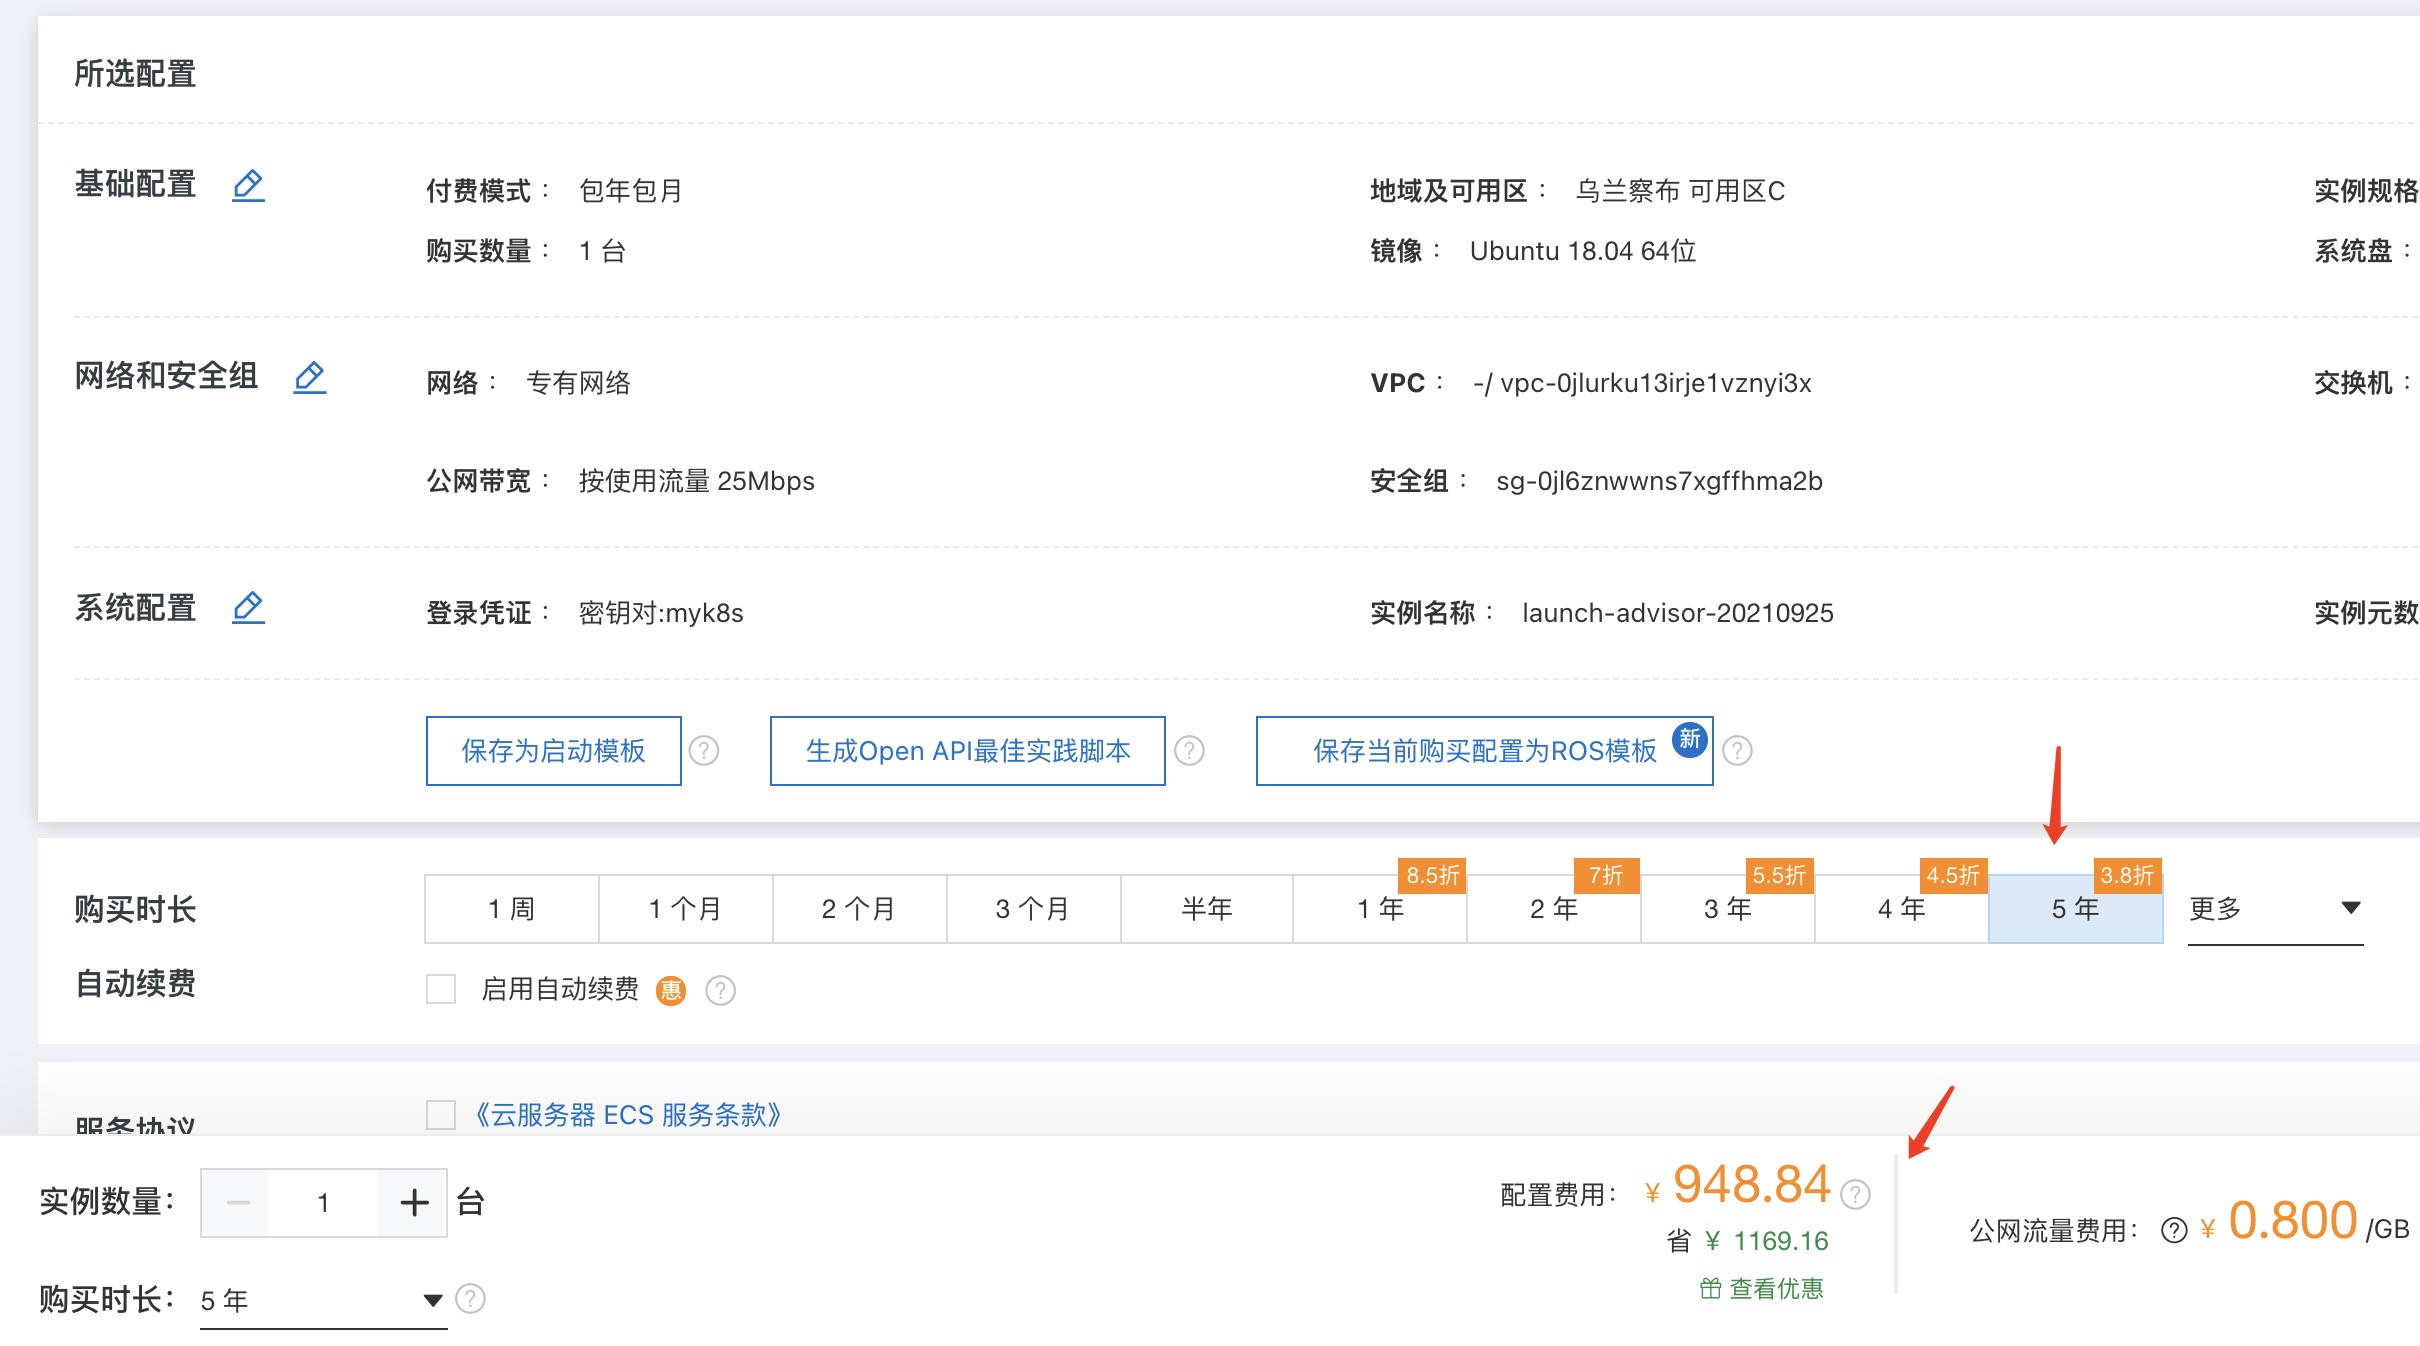
选五年折扣非常大,950 大洋。国内麻烦的就是域名,备案很快,使用 aliyun 一站式备案即可,大概一周完成,线上操作即可
域名五年一共 350 大洋,那么一共五年 1300,成本平摊下来每年就是 260 元。购买服务器还有个好处,可是做其它测试,搭建其它服务
搭建 nginx
使用 ubuntu apt 仓库的 nginx 即可,安装比较简单。注意 root@test-hexo:~# 表示操作 ec2 服务器
1 | root@test-hexo:~# apt-get update |
然后查看 nginx 是否安装成功
1 | root@test-hexo:~# nginx -v |
此时使用公网 ip 网页打开 80 端口,测试能否看到 nginx default html 页面。如果打不开,请检查 aliyun 安全组设置
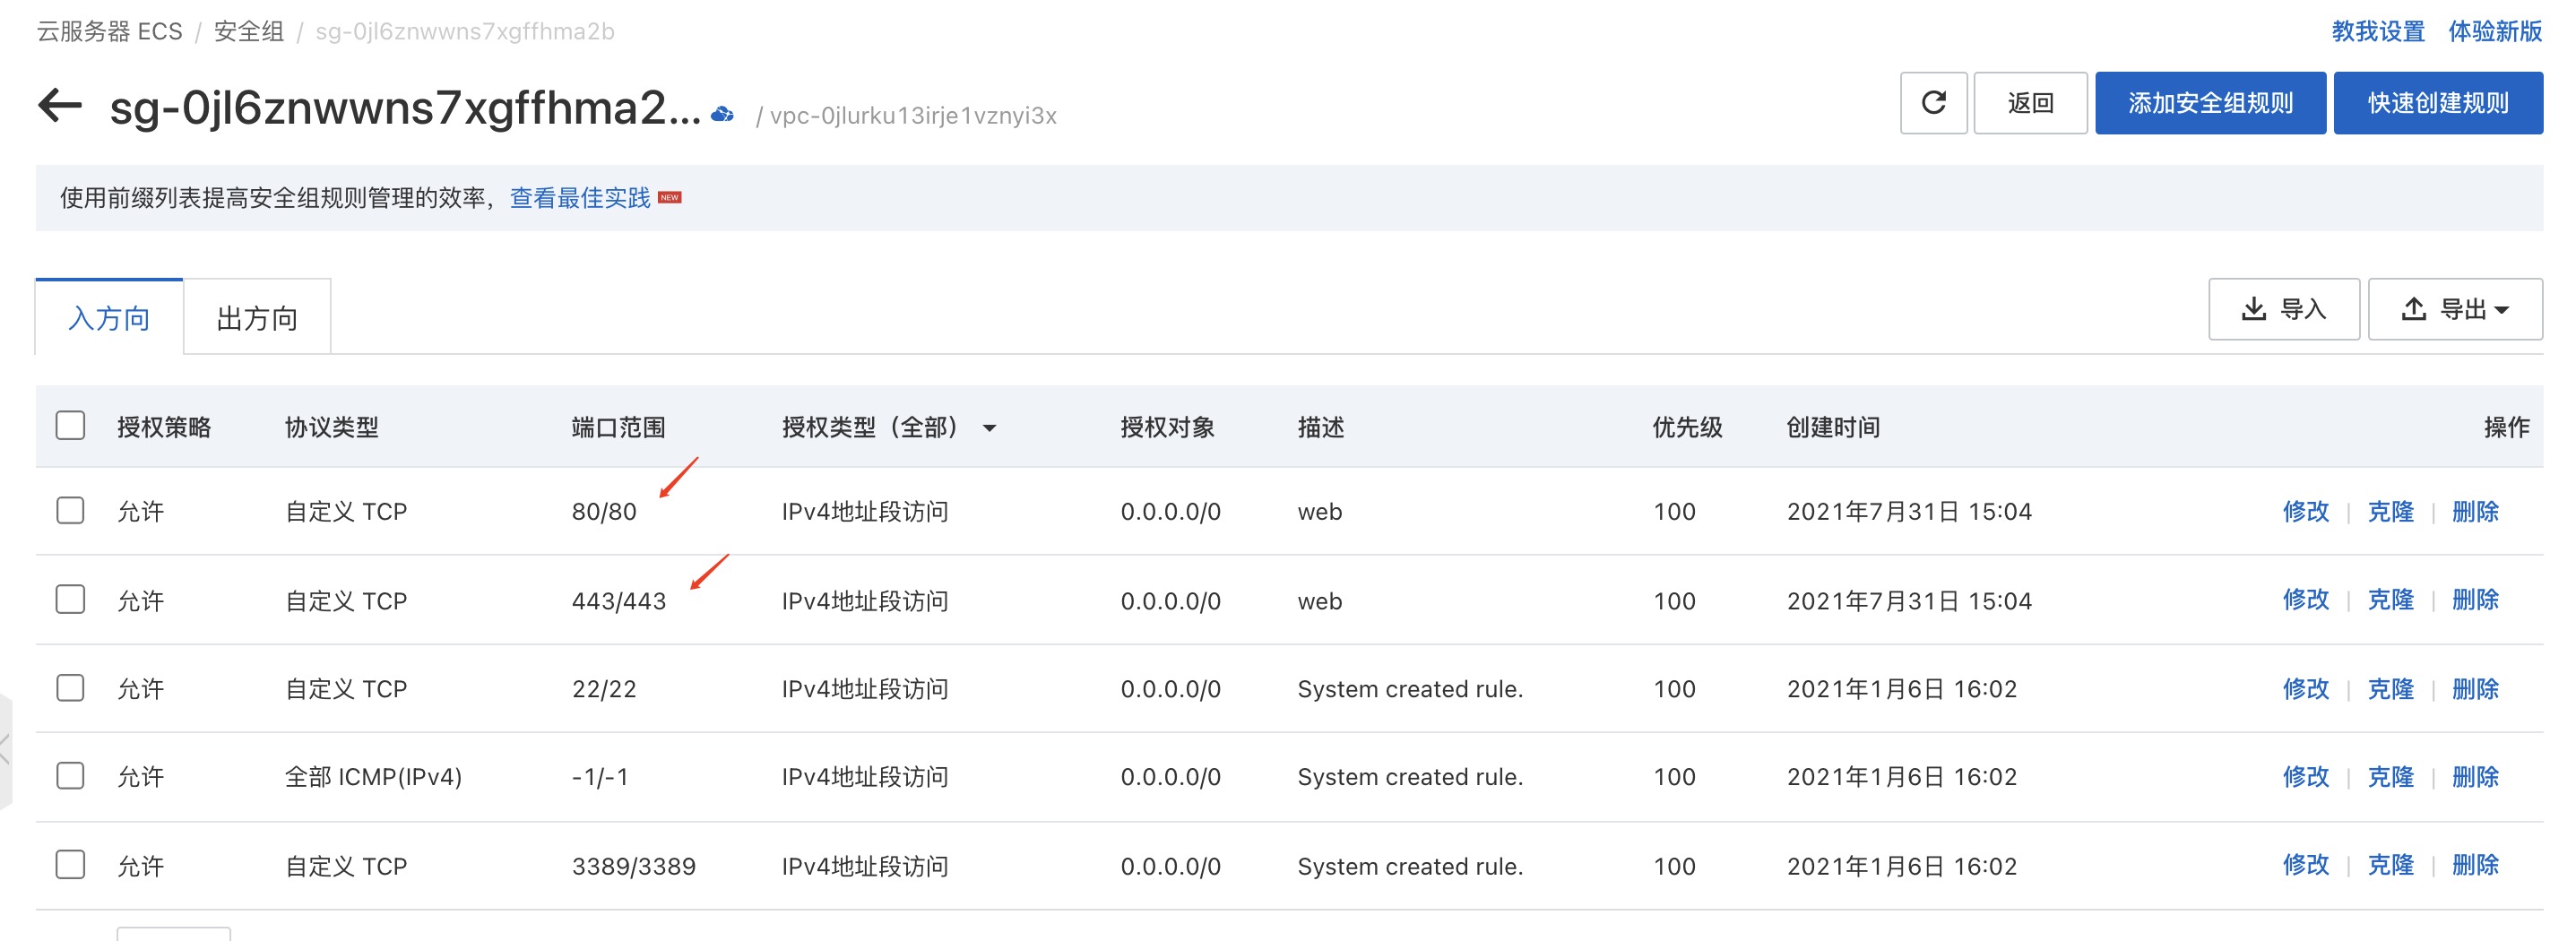
如上所示,需要设置 80/443 对外开放,默认是不允许访问的。ps 可以看到 nginx worker 线程有两个,用户名是 www-data, 之后我们会修改用户。nginx 默认配置文件是 /etc/nginx/nginx.conf, 新加的站点需要放到 /etc/nginx/sites-enabled/ 目录下面
搭建 git server
在 ec2 上搭建 git 服务,直接 apt 安装即可
1 | root@test-hexo:~# apt install git -y |
查看 git 版本,添加用户 git 用于搭建 git server
1 | root@test-hexo:~# git version |
这里注意 shell 提示符,# 表示当前是 root, $ 表示当前用户是 git. 一定不要混
1 | root@test-hexo:/home# su - git |
创建 test-blog 裸的 git 仓库,目录用于搭建服务
在本地机器上(工作本,不是 ec2)生成 ssh-key, 如果有请忽略
1 | ITCN000312-MAC:~ zerun.dong$ ssh-keygen -t rsa |
然后将公钥 ~/.ssh/id_rsa.pub 复制到 ec2 git 帐号,使得我们可以无密码同步本地数据到 ec2 git
1 | git@test-hexo:~$ mkdir ~/.ssh |
git@test-hexo:~$ 是 ec2 机器,创建 .ssh 目录和文件 authorized_keys, 注意权限是 600, 把上面创建好的 id_rsa.pub 内容复制粘贴到 ec2 的 authorized_keys 文件里
然后在本地测试是否可以无密码登录 git
1 | ITCN000312-MAC:~ zerun.dong$ ssh git@8.130.172.114 |
下面来构建 hook, 当 git 仓库有变化时,同步将文件复制到 nginx data 目录
1 | git@test-hexo:~$ touch ~/test-blog.git/hooks/post-receive |
~/test-blog.git/hooks/post-receive 文件内容就一行 shell 命令。将 git push 来的数据放到 /home/git/test-blog-data 目录下面
搭建本地 hexo
1 | :~ zerun.dong$ npm install hexo-cli -g |
以上操作均在 Mac 本地,如果 hexo init 失败,可以 google 搜一下报错,大概率是因为本机 node 版本不对
1 | :~ zerun.dong$ cd test-hexo/ |
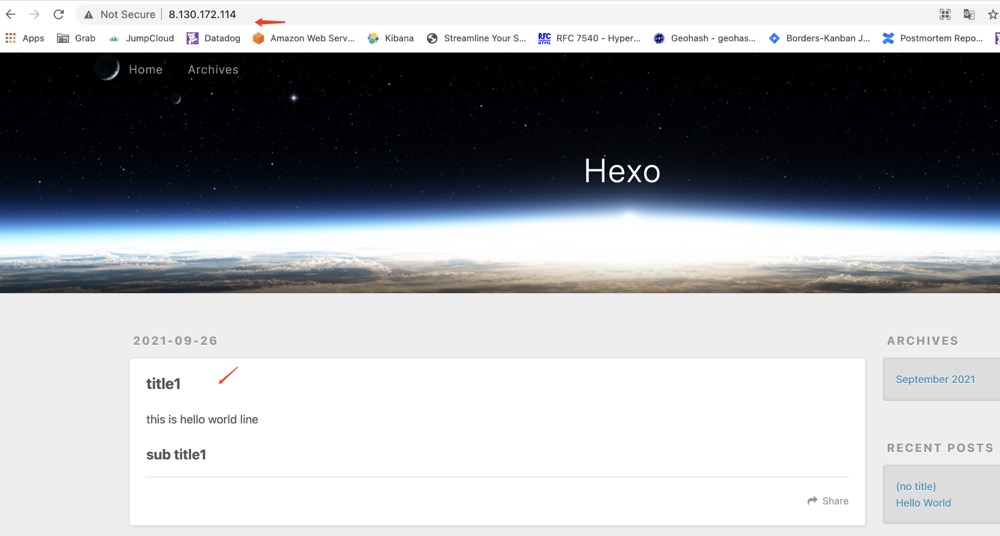
进入到 test-hexo 目录下面,运行 hexo g 生成静态页面,运行 hexo server -s 即可测试本地静态 web 服务,打开 http://localhost:4000
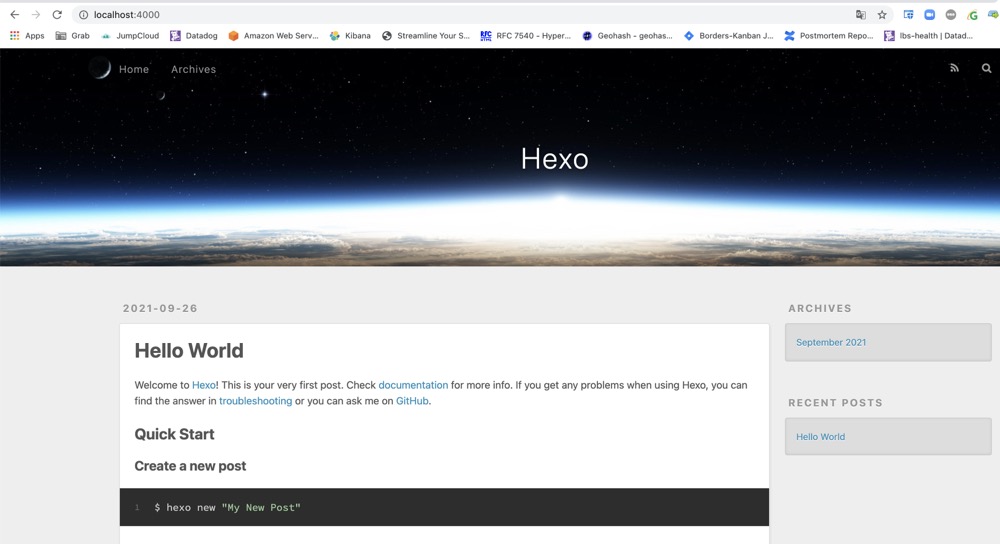
看到默认的 hello 页面即可
构建自动化
进到本机 test-hexo 目录下面
1 | :test-hexo zerun.dong$ npm install --save hexo-deployer-git |
安装 hexo git deploy 插件
1 | Deployment |
然后我们在 _config.yml 文件末尾添加 git 构建 pipeline, 注意这个 ip 目录 是我测试用的,需要改成你自己的。现在随变编写一个 markdown 测试件文
1 | :test-hexo zerun.dong$ cat source/_posts/hahahahhaha.md |
上面是简单的测试 markdown 文件,需要放到 source/_posts 目录下面
1 | test-hexo zerun.dong$ hexo g -d |
hexo g -d 先是构建静态文件,渲染,然后 git deploy 到我们的 ec2 server 服务上,再触发 post-receive 脚本
1 | git@test-hexo:~$ ls test-blog-data/ |
登到 ec2 服务器上,查看 test-blog-data 目录己经有渲染好的静态文件了。但是此时 nginx 是不能用的,原因是 nginx 配置还没有改
1 | root@test-hexo:~# grep user /etc/nginx/nginx.conf |
只需修改两处,/etc/nginx/nginx.conf 把 user 变成 git, /etc/nginx/sites-enabled/default 数据目录 root 改成上面提到的 /home/git/test-blog-data, 最后 nginx -s reload 重新加载。打开网站即可测试
关于如何修改网站名称,自定义主题,添加友情链接等等,请网上搜索,非常简单
SSL (optional)
建义都加上 https, 反正 letsencrypt 也是免费的,certbot 可以自动修改我们的 nginx config file, cron 可以自动更新 ssl file 非常方便
1 | listen [::]:443 ssl ipv6only=on; # managed by Certbot |
最后 /etc/nginx/sites-enabled/default 修改完的配置如上所示
图床 (optional)
图床是可选的,图片和静态的网页放到一起也可以,但是担心流量太大,ec2 带宽超额计费
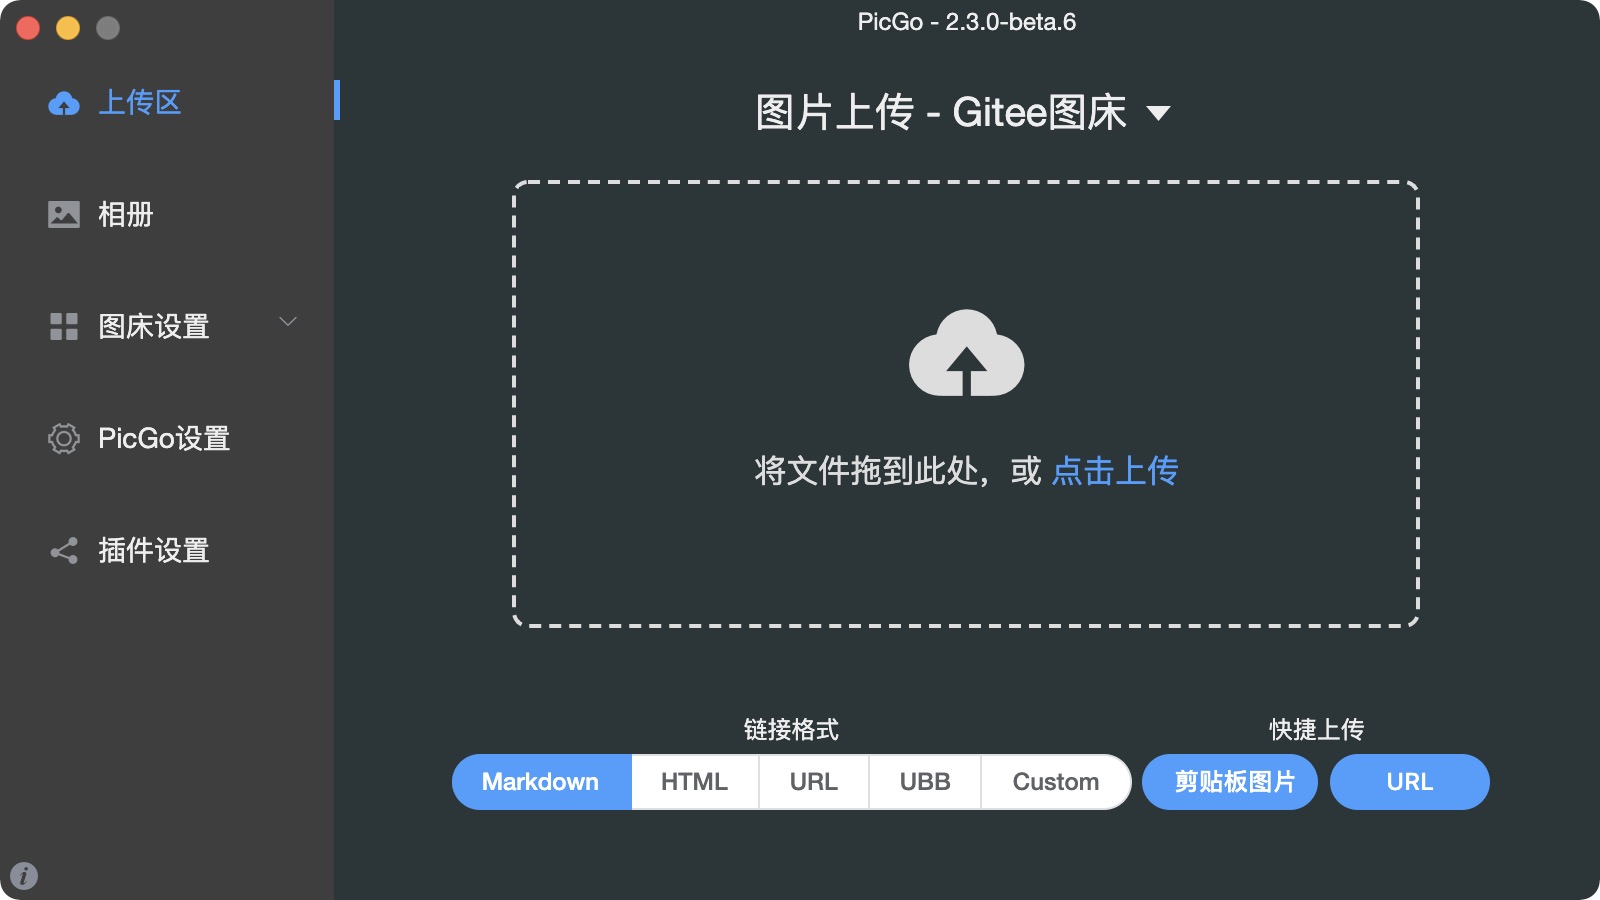
整体就是 PicGo 然后将图片上传到 Gitee 上,然后我们只需引用图片连接即可
1 |  |
rss 添加订阅 (optional)
进入到 test-hexo 目录,然后安装插件
1 | npm install hexo-generator-feed |
主题 (optional)
hexo 官方有很多 theme, 都是开源的,大家看看喜欢哪种,按照流程下载即可
百度统计 (optional)
大家可以添加 baidu/google 统计, 我这里出于方便选择了 baidu, 安装大家可以自行参考 baidu 官网
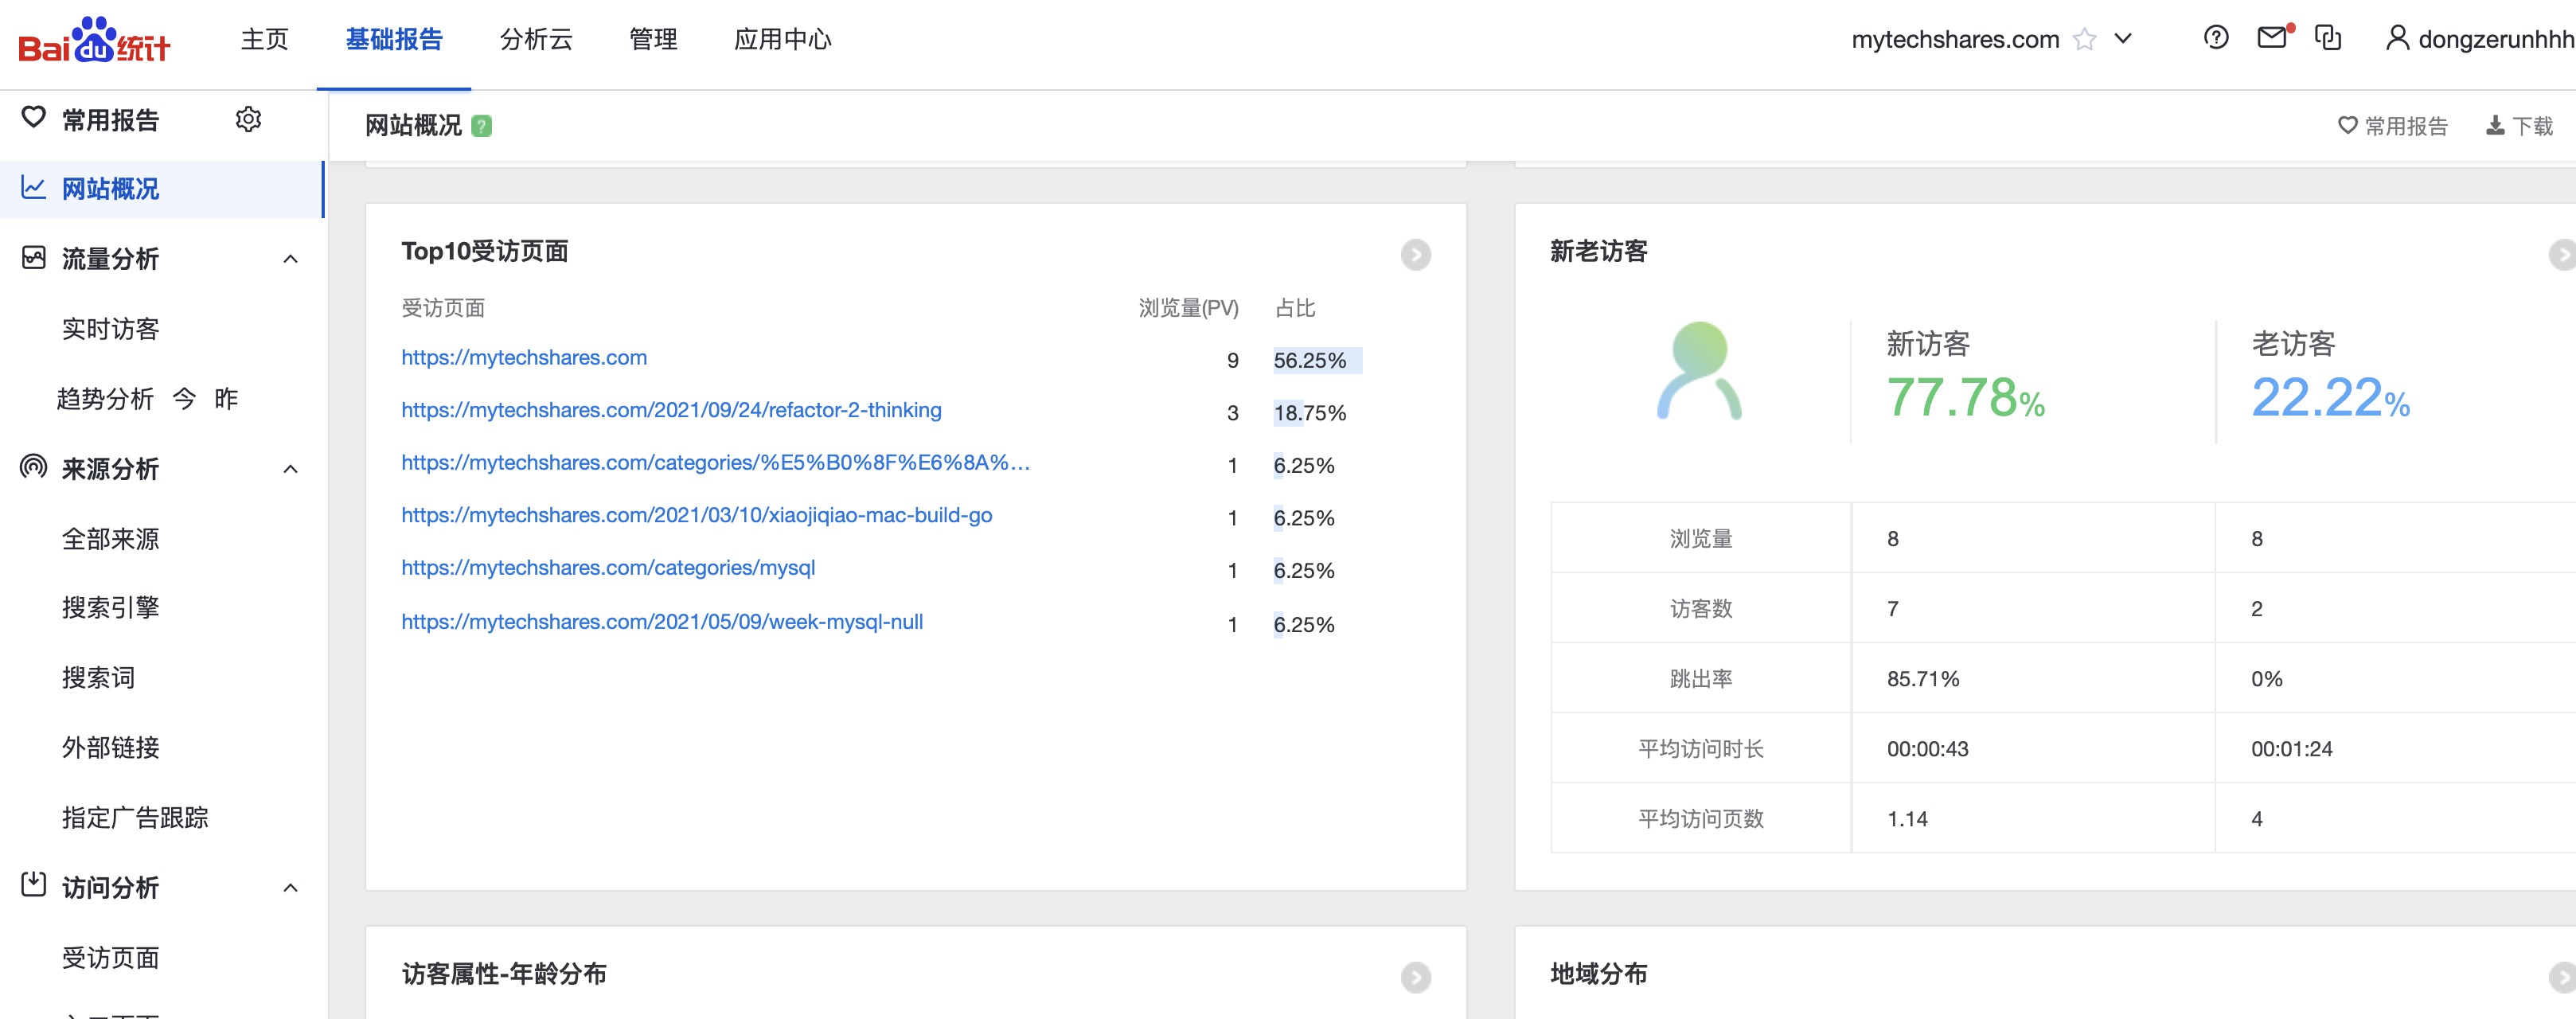
其实没什么用,不过可以告诉我们你的 blog 没人看~~~
测试检索
我只能说 baidu 是毒瘤
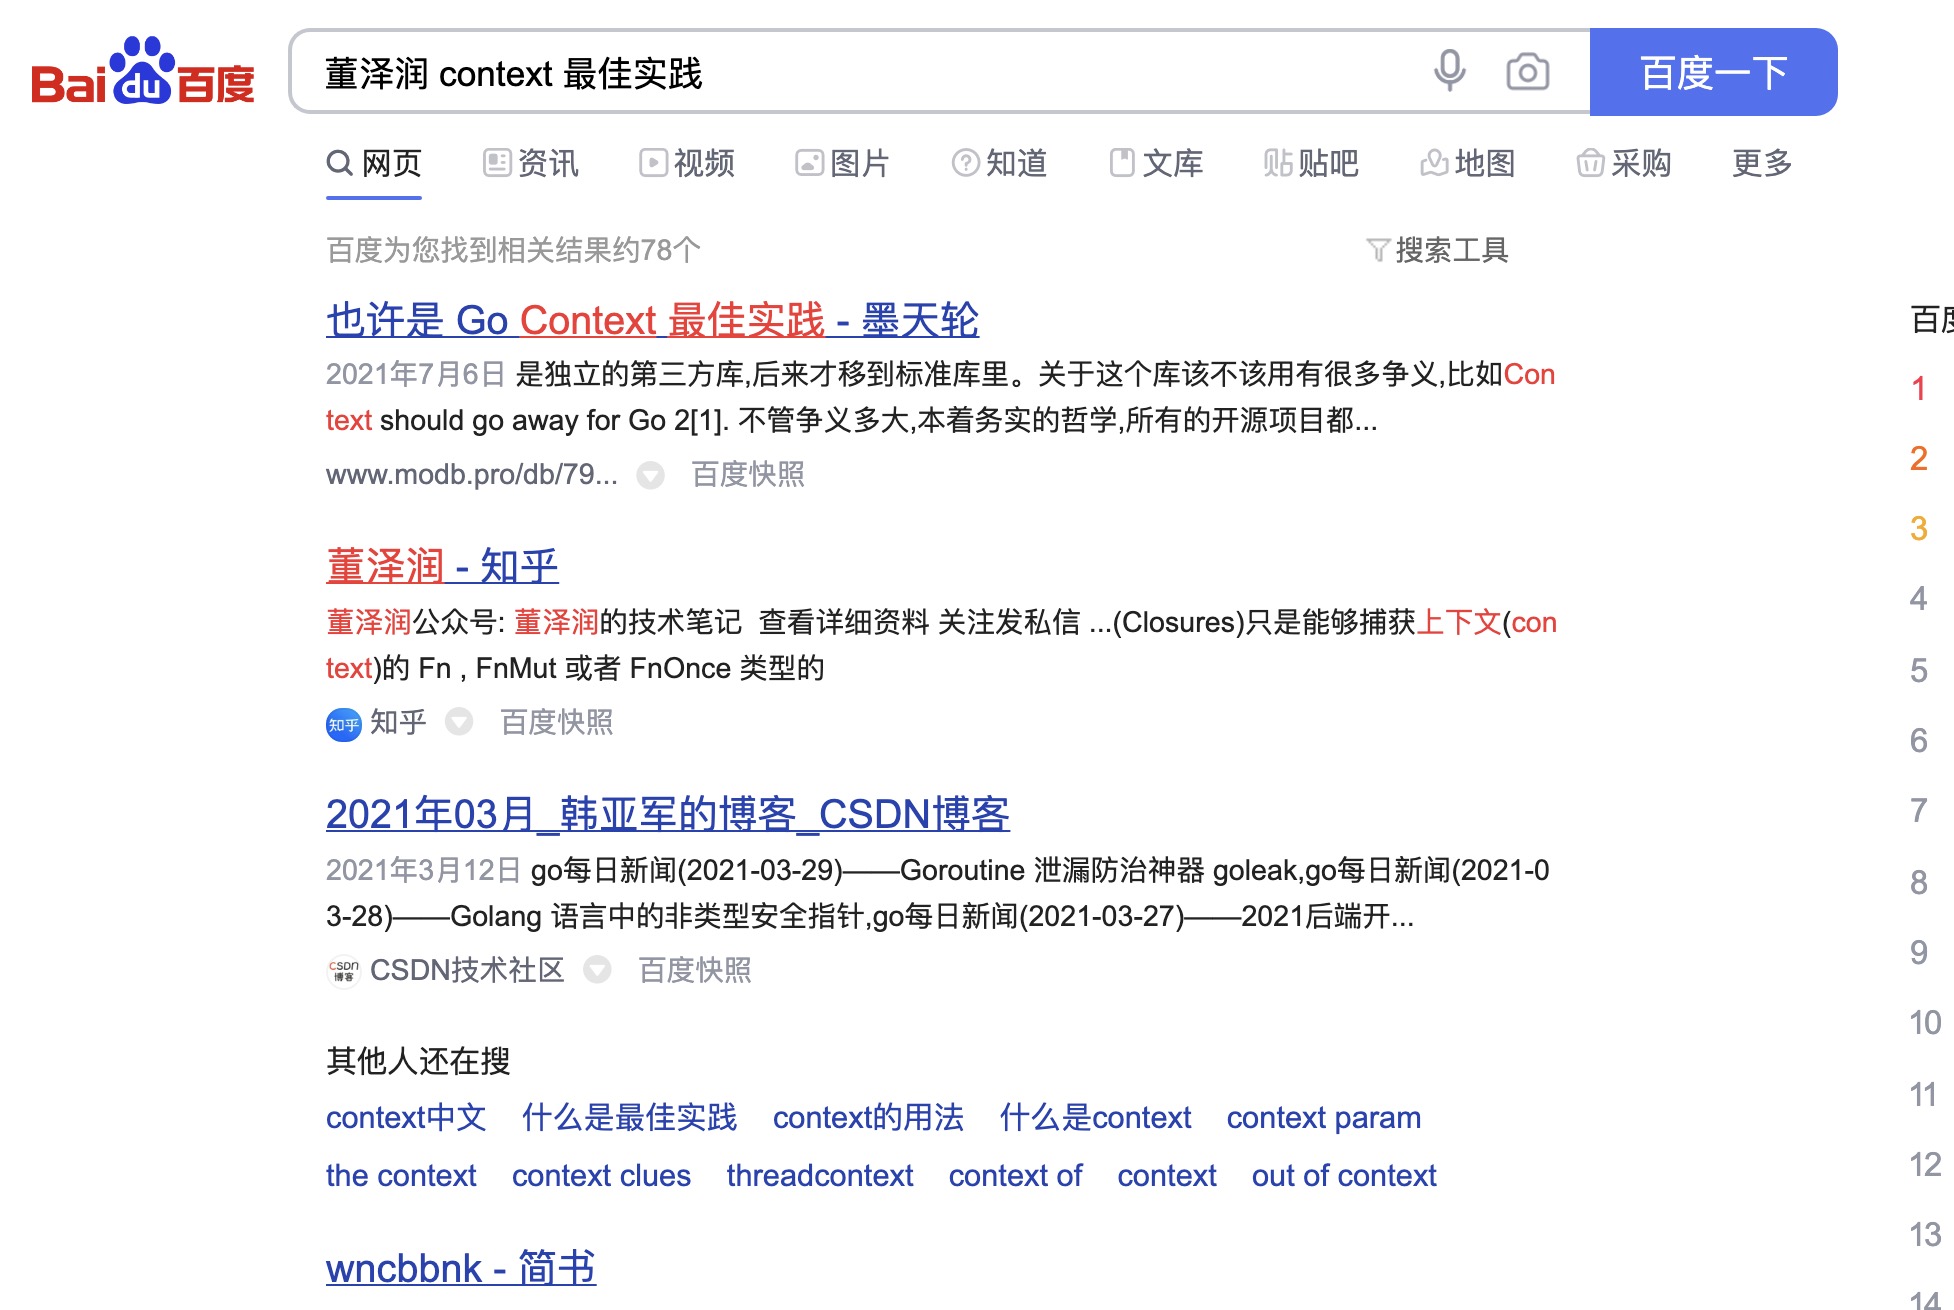
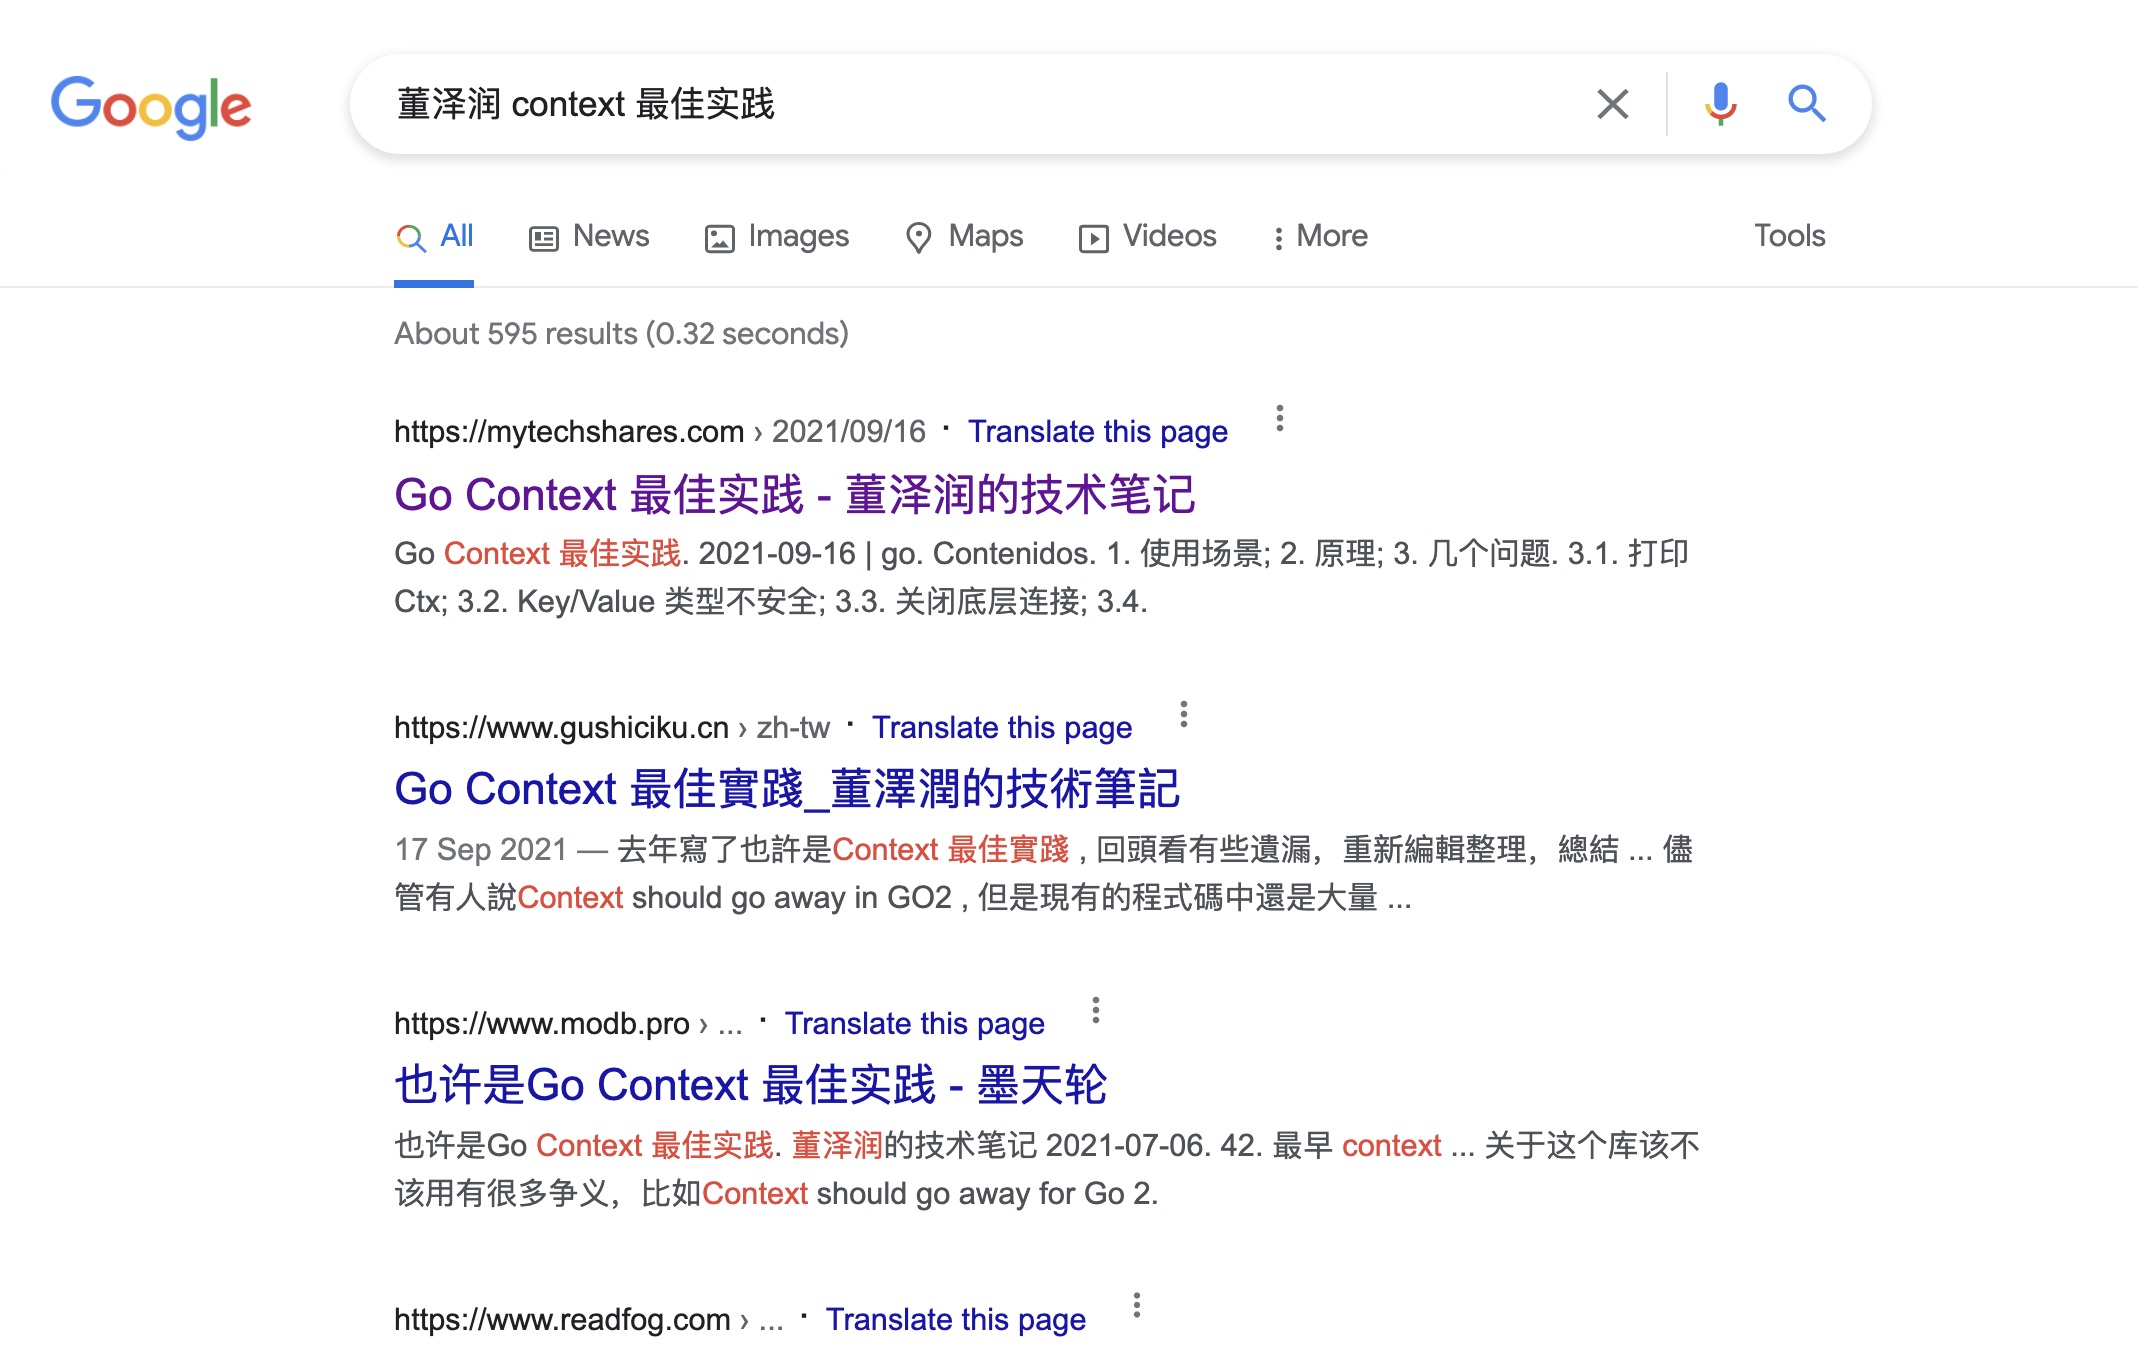
上面两张图分别是 baidu, google 搜索的结果,结论:baidu 没落是有道理的…
小结
以上几个 optional 是可选的,大家自行 google 搜索如何操作,非常简单。写文章不容易,如果对大家有所帮助和启发,请大家帮忙点击在看,点赞,分享 三连
关于 自建博客 大家有什么看法,欢迎留言一起讨论,大牛多留言 ^_^
